Let us see how to use layer drawable. You can have two or more bitmaps on different layers to create such a drawable
Using xml:
You should use layer-list in your xml file to create layerdrawable. Here is layer.xml
We are using three different bitmaps whiteicon.png, redicon.png and blueicon.png which are present in /res/drawable/mdpi folder. All these are of different sizes and aligned to top left. This drawable can be used as a background to any widget in your program.
Button b = (Button)findViewById(R.id.button1);
b.setBackgroundResource(R.drawable.layer);
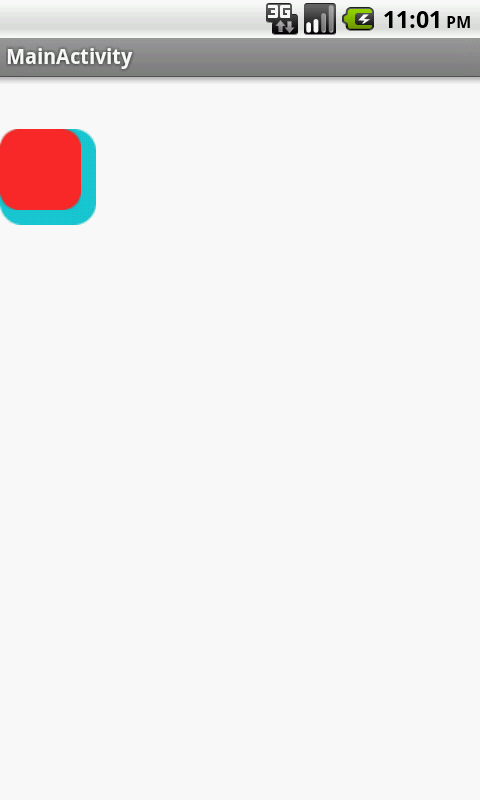
Now the button would look like this

Using code:
Next let us see how to create layerdrawable using the code.
It is important to arrange your bitmaps properly and give offsets so that bigger bitmap does not overlap smaller one completely.
And in code add this drawable as a background to some widget.
LayerDrawable ld = createBmp();
b.setBackgroundDrawable(ld);
Now here is our layer drawable image

Using xml:
You should use layer-list in your xml file to create layerdrawable. Here is layer.xml
 <?xml version="1.0" encoding="utf-8"?>
 <layer-list xmlns:android="http://schemas.android.com/apk/res/android">
 <item>
 <bitmap android:src="@drawable/whiteicon"
 android:gravity="top|left"/>
 </item>
 <item>
 <bitmap android:src="@drawable/blueicon"
 android:gravity="top|left"/>
 </item>
 <item>
 <bitmap android:src="@drawable/redicon"
 android:gravity="top|left"/>
 </item>
 </layer-list>
We are using three different bitmaps whiteicon.png, redicon.png and blueicon.png which are present in /res/drawable/mdpi folder. All these are of different sizes and aligned to top left. This drawable can be used as a background to any widget in your program.
Button b = (Button)findViewById(R.id.button1);
b.setBackgroundResource(R.drawable.layer);
Now the button would look like this
Using code:
Next let us see how to create layerdrawable using the code.
  private LayerDrawable createBmp(){
     BitmapDrawable d1 = (BitmapDrawable) getResources().getDrawable(R.drawable.blueicon);
     d1.setGravity(Gravity.LEFT);
     BitmapDrawable d2 = (BitmapDrawable) getResources().getDrawable(R.drawable.redicon);
     d1.setGravity(Gravity.LEFT);
     BitmapDrawable d3 = (BitmapDrawable) getResources().getDrawable(R.drawable.blueicon);
     d3.setGravity(Gravity.LEFT);
     Drawable drawableArray[]= new Drawable[]{d3,d2,d1};
     LayerDrawable layerDraw = new LayerDrawable(drawableArray);
     layerDraw.setLayerInset(1, 15, 15, 0, 0);//set offset of 2 layer
     layerDraw.setLayerInset(2,40,40,0,0);//set offset for third layer
     return layerDraw;
   }
It is important to arrange your bitmaps properly and give offsets so that bigger bitmap does not overlap smaller one completely.
And in code add this drawable as a background to some widget.
LayerDrawable ld = createBmp();
b.setBackgroundDrawable(ld);
Now here is our layer drawable image

Heya i'm for the fіrst time here. I found thiѕ
ReplyDeleteboard and I find It reɑlly useful & іt hslped mе out
a lot. I hope too givee ѕomething back and helρ others like ʏou aided
me.